How to make new clothes that will conform to human figures ?
You might have been delving a lot, like me, to reach that point, or you leaved it. Well, how do I do that ?
1) Select a clothe in Poser4 and export to 3DS format
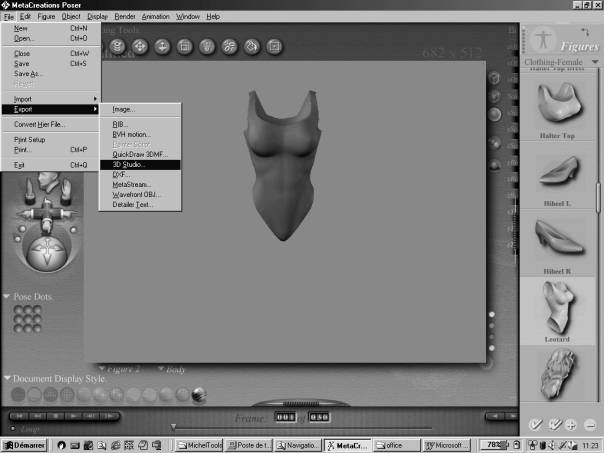
Then
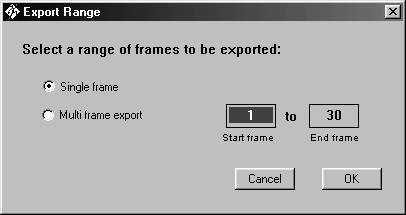
Then
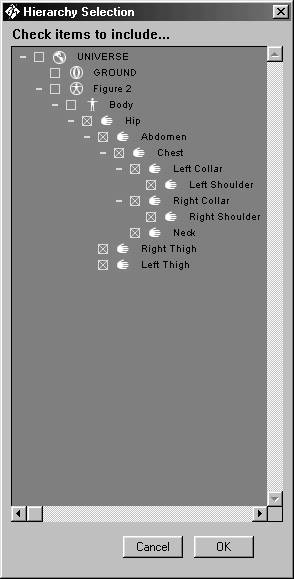
Check only the ‘body parts’
Then
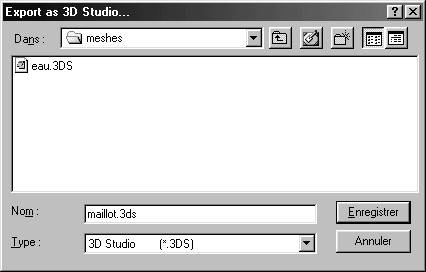
Well, up to there, easy.
2) Modification in 3DS Max 4
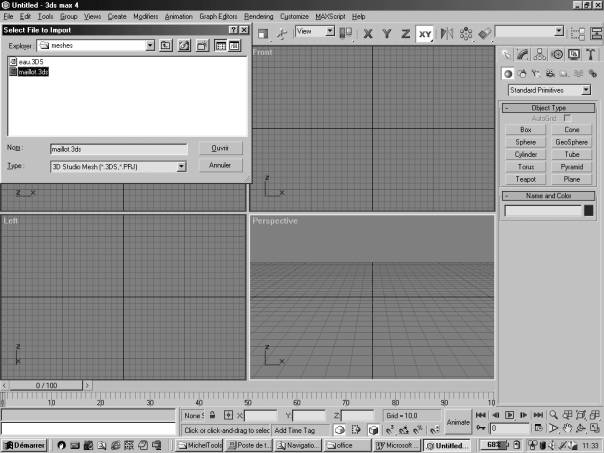
Import the 3ds file
and
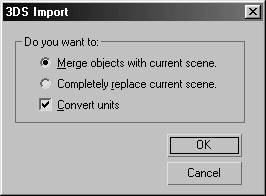
Then
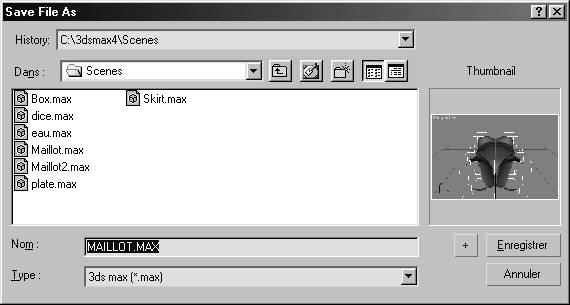
Save the scene in .max format, you never know….
The following step consists in assigning a different material to every part of the clothe.
Then : Edit, Select by, Name H :
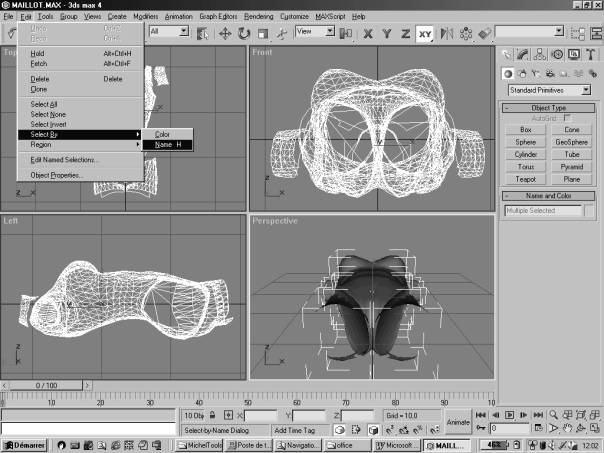
and
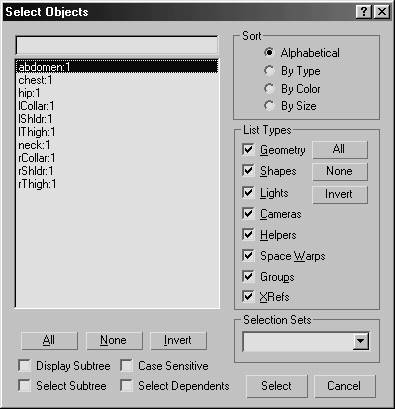
Select only one object at a time (and click the Select button)
Then press ‘m’ key (material)
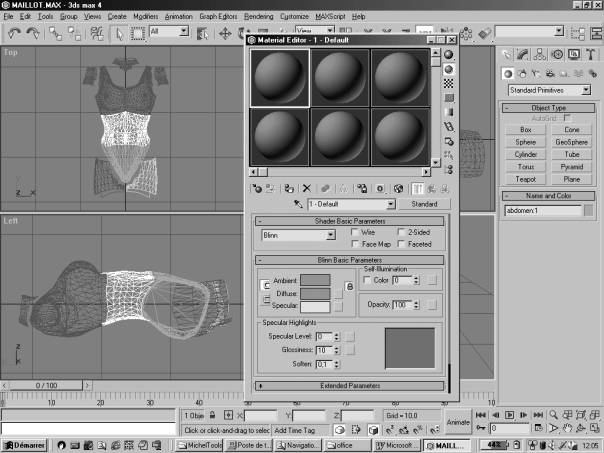
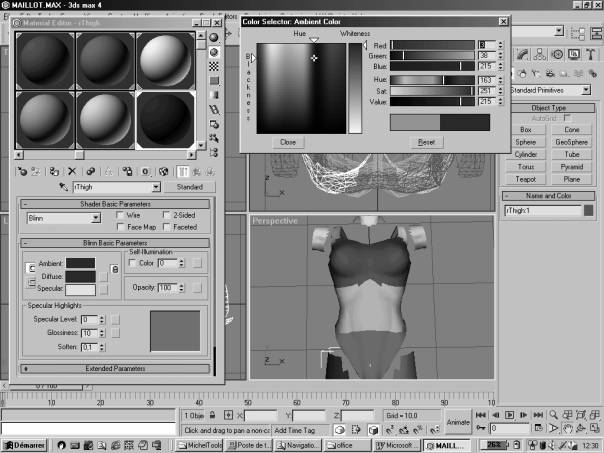
And there, replace the name ‘1-Default’ by the element name; here : abdomen; (this is very important, you’ll see why later) and choose a color by clicking in the grey area ‘Ambient’
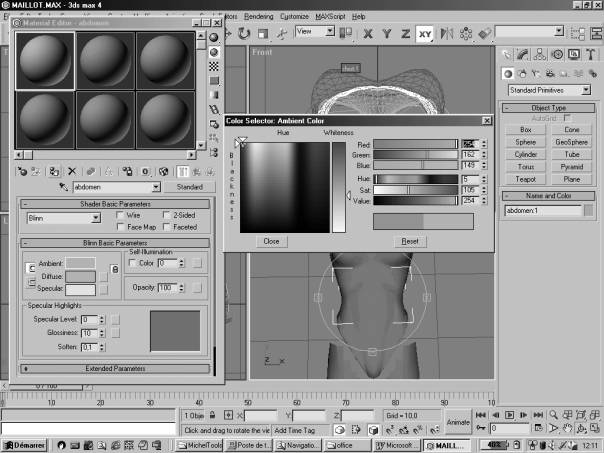
Click ‘Assign material to Selection’ icon (3rd above ‘material’ name)
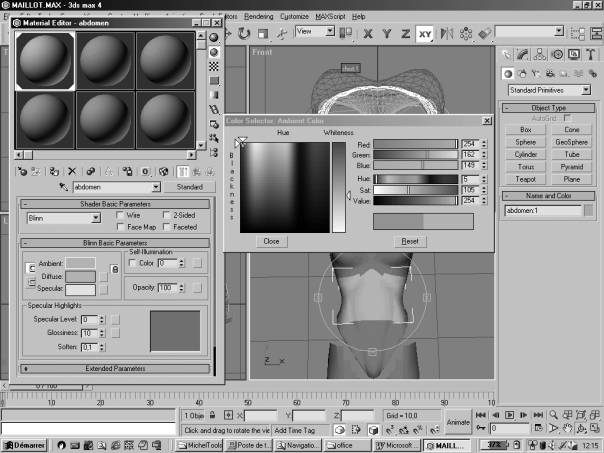
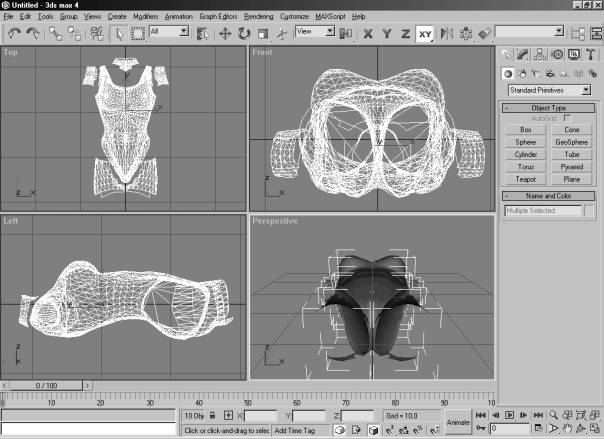
the element you selected takes the color you choose in the ‘perspective’ window. Close the ‘Material Editor’ window, and do again all this operation for the 9 other parts of that clothe, until you get something that looks like the following one :
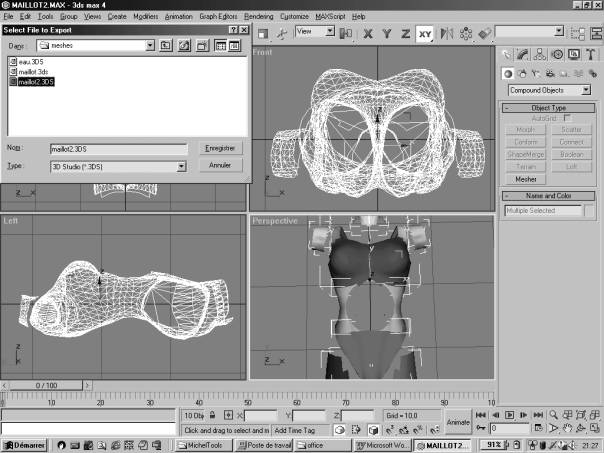
At this stage save your work. Well, what modifications to make? Anything you want, my idea is to make holes, big one in the abdomen, and small one in the back, just by using 3DS Max4 facilities. Ok, done, I export to 3DS format :
and now, back to Poser. Start ‘import’
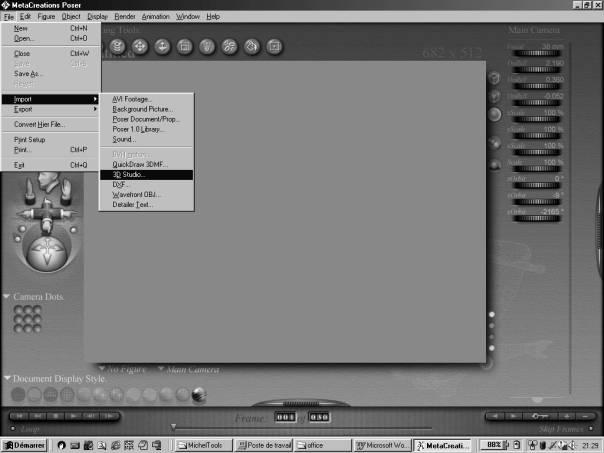
and
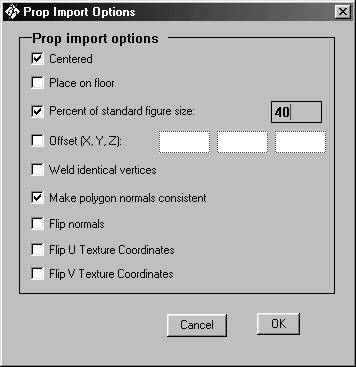
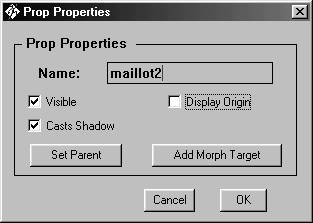
After importing, use ‘figure-drop to floor’ and modify properties :
recall the original clothe from the Poser library and try to make the new clothe (props) fits with the old one (figure)

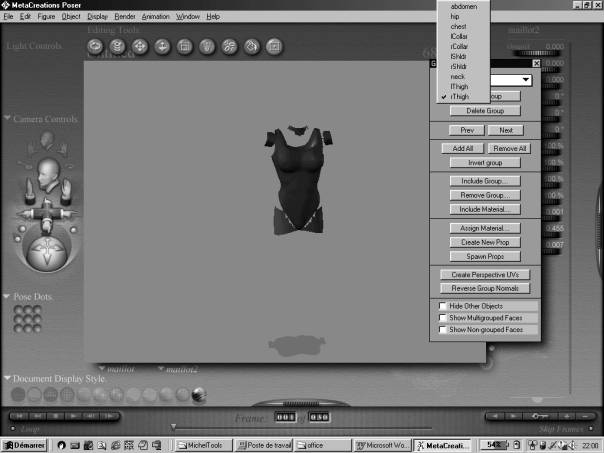
Now, we have to prepare the ‘props’ to become a ‘figure’. Use the ‘group’ tool :
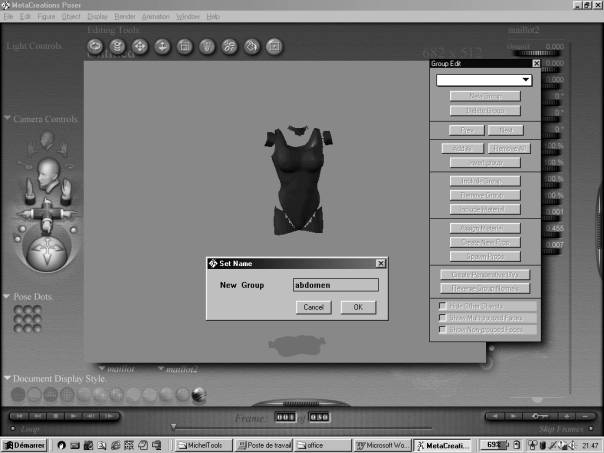
click ‘new group’ and type the name of one of the 10 parts of the clothe (pen and pad wellcome), then choose ‘include material’ and see the offered list :
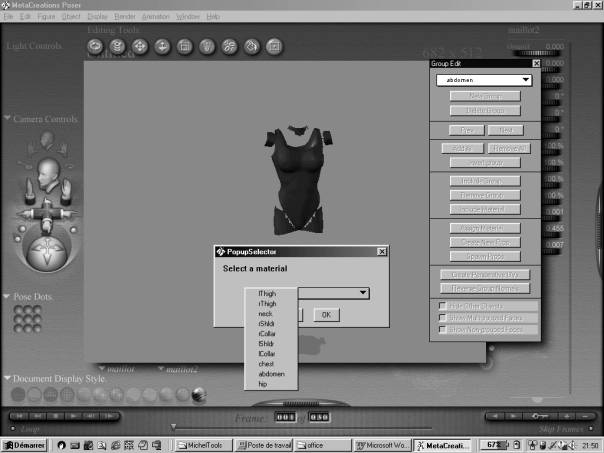
Ok ! You see why the choice of names for ‘materials’ was important in 3DS Max 4 ?, You just have to click on ‘abdomen’ and do again this for 9 other parts.
You’ve got the 10 groups :
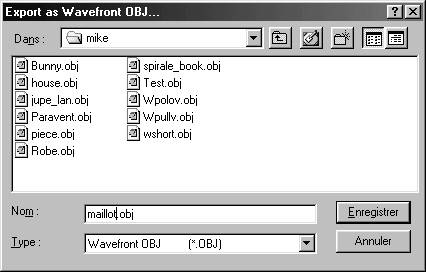
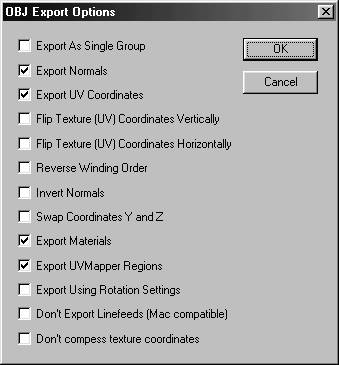
and now, there’s only to export to .obj format.
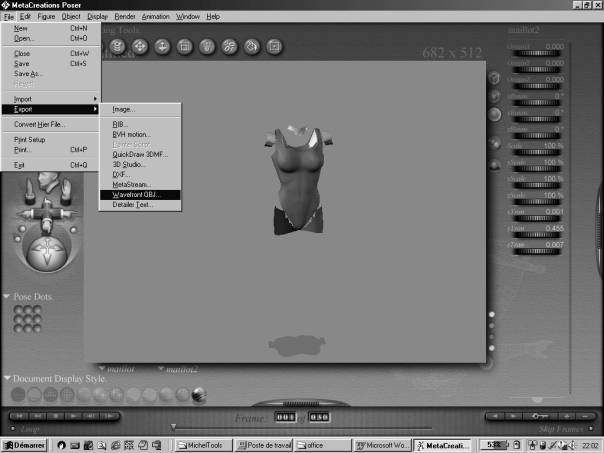
Prefer a subfolder such as : 3Dposer4\Runtime\Geometries\mywork
And now let’s verify with UVMapper (see LINKS page)
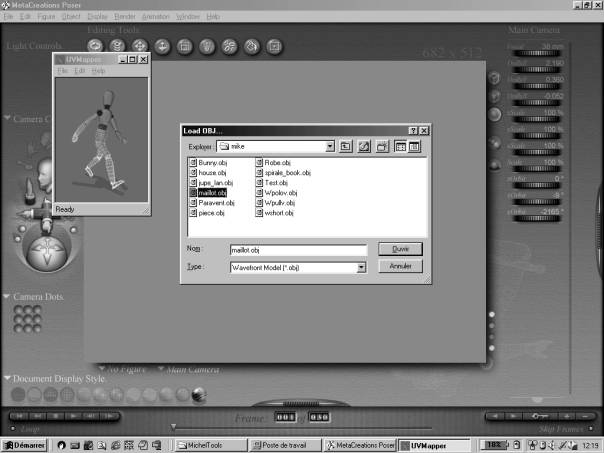
And
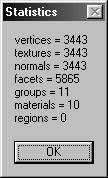
10 ‘materials’, ok.
Save again the .obj and then start PhiBuilder (same remark as for UVMapper),
And open the .obj that you just saved.
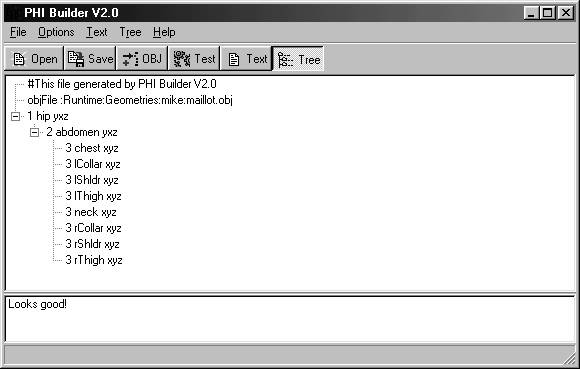
The hierachy should be the following one :
Then we modify to get closer :
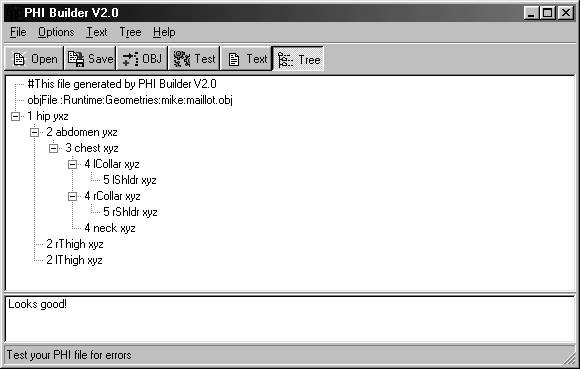
And we save the .phi

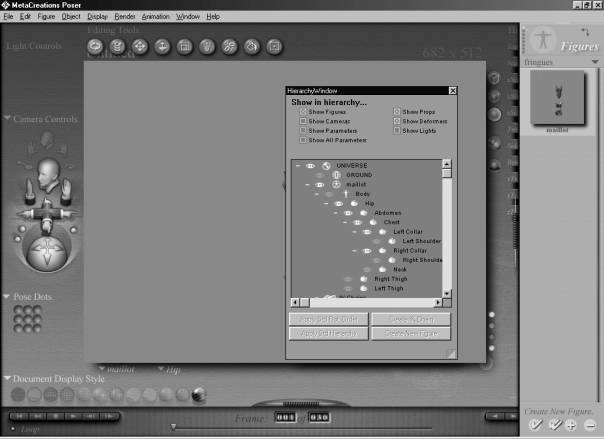
Back to Poser4

Convert Hier File :
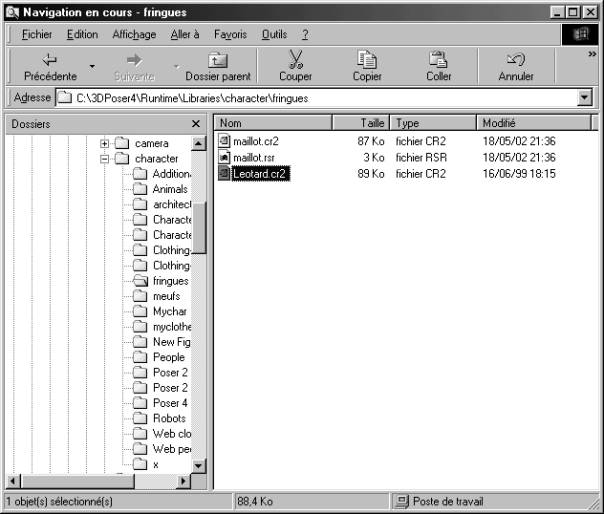
And save, the new figure goes to « new figures » under « Figures »
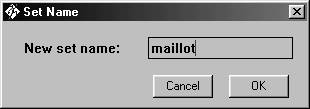
If, like me, you loaded the ‘leotard’ the ‘maillot’ will appear with this picture in the icons bar. Delete the figure from the current poser document and double click the ‘maillot’
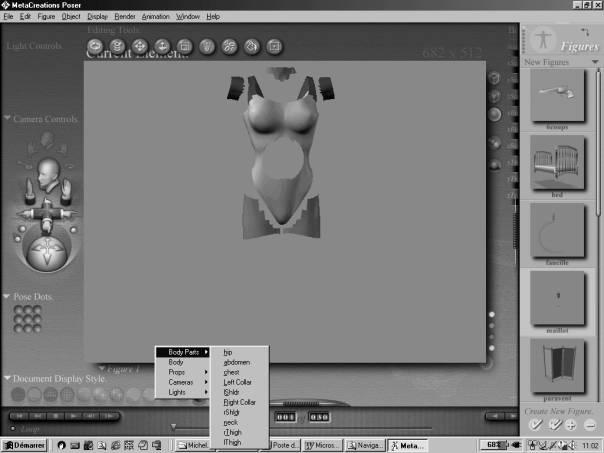
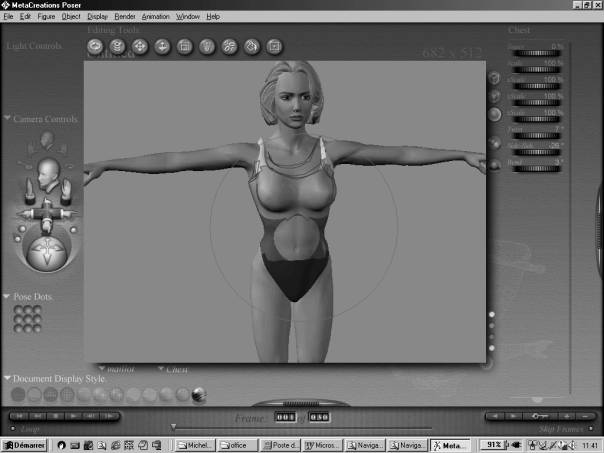
It’s no longer a ‘props’ but a full figure with ‘body parts’….not too bad…
Let’s play with it, and let’s notice that this ‘maillot’ hasn’t got all ‘leotard’ properties.
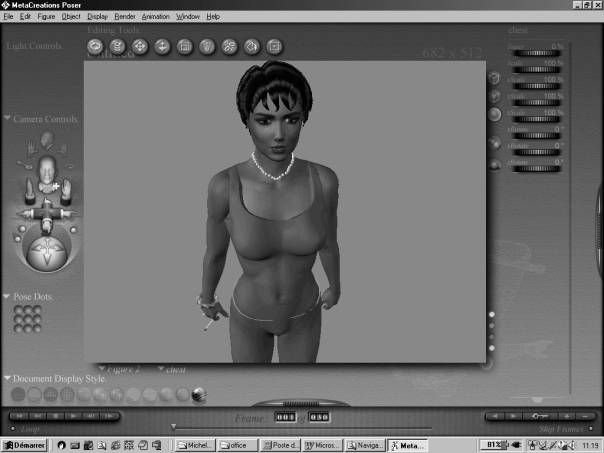
Not to bad ...but look carefully at the ‘chest’ parameters, the ‘bend’ feature is missing….
And why not try to say to the ‘leotard’ to point to our ‘obj’ ? and to be named ‘maillot’ ?
First we copy the .cr2 and .rsr leotard’s files to a new folder :
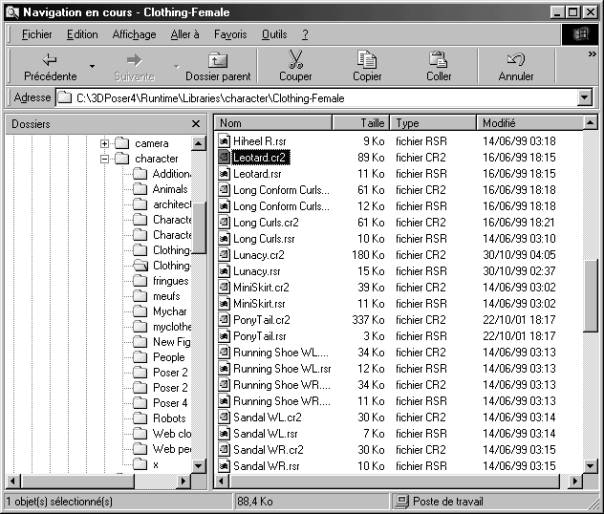
and
Open the .cr2 file with WordPad (or any other text editor)
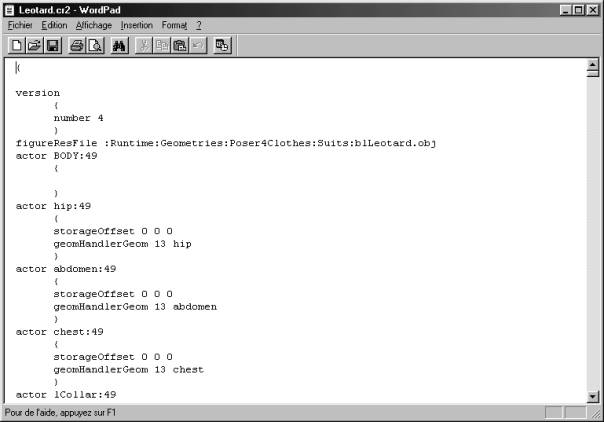
There’s only to change the figureResFile line :
figureResFile :Runtime:Geometries:mike:maillot.obj
caution, this line is twice in the .cr2 file. Update, then save.
And the result :
Look at the ‘chest’ parameters ! We did it !